I know it seems a strange hobby to take up and certainly not a cheap one, but it is a fulfilling one. Since I’m being honest I’ll reveal a secret… I’m a picker. Not spots or noses, but I like to peel wallpaper and take plastic off new things and trying NOT to pull the cradle cap off my children’s heads was hell!
So what does being a picker have to do with Linocut printing? Well, it’s everything. Cutting your design and stripping layers away from the linolem is SO satisfying! It’s a process that I find infinitely cathartic and would recommend to anyone who needs a quiet, relaxing pastime. It can be a tad dangerous, but if you work carefully and methodically, it’s safe.
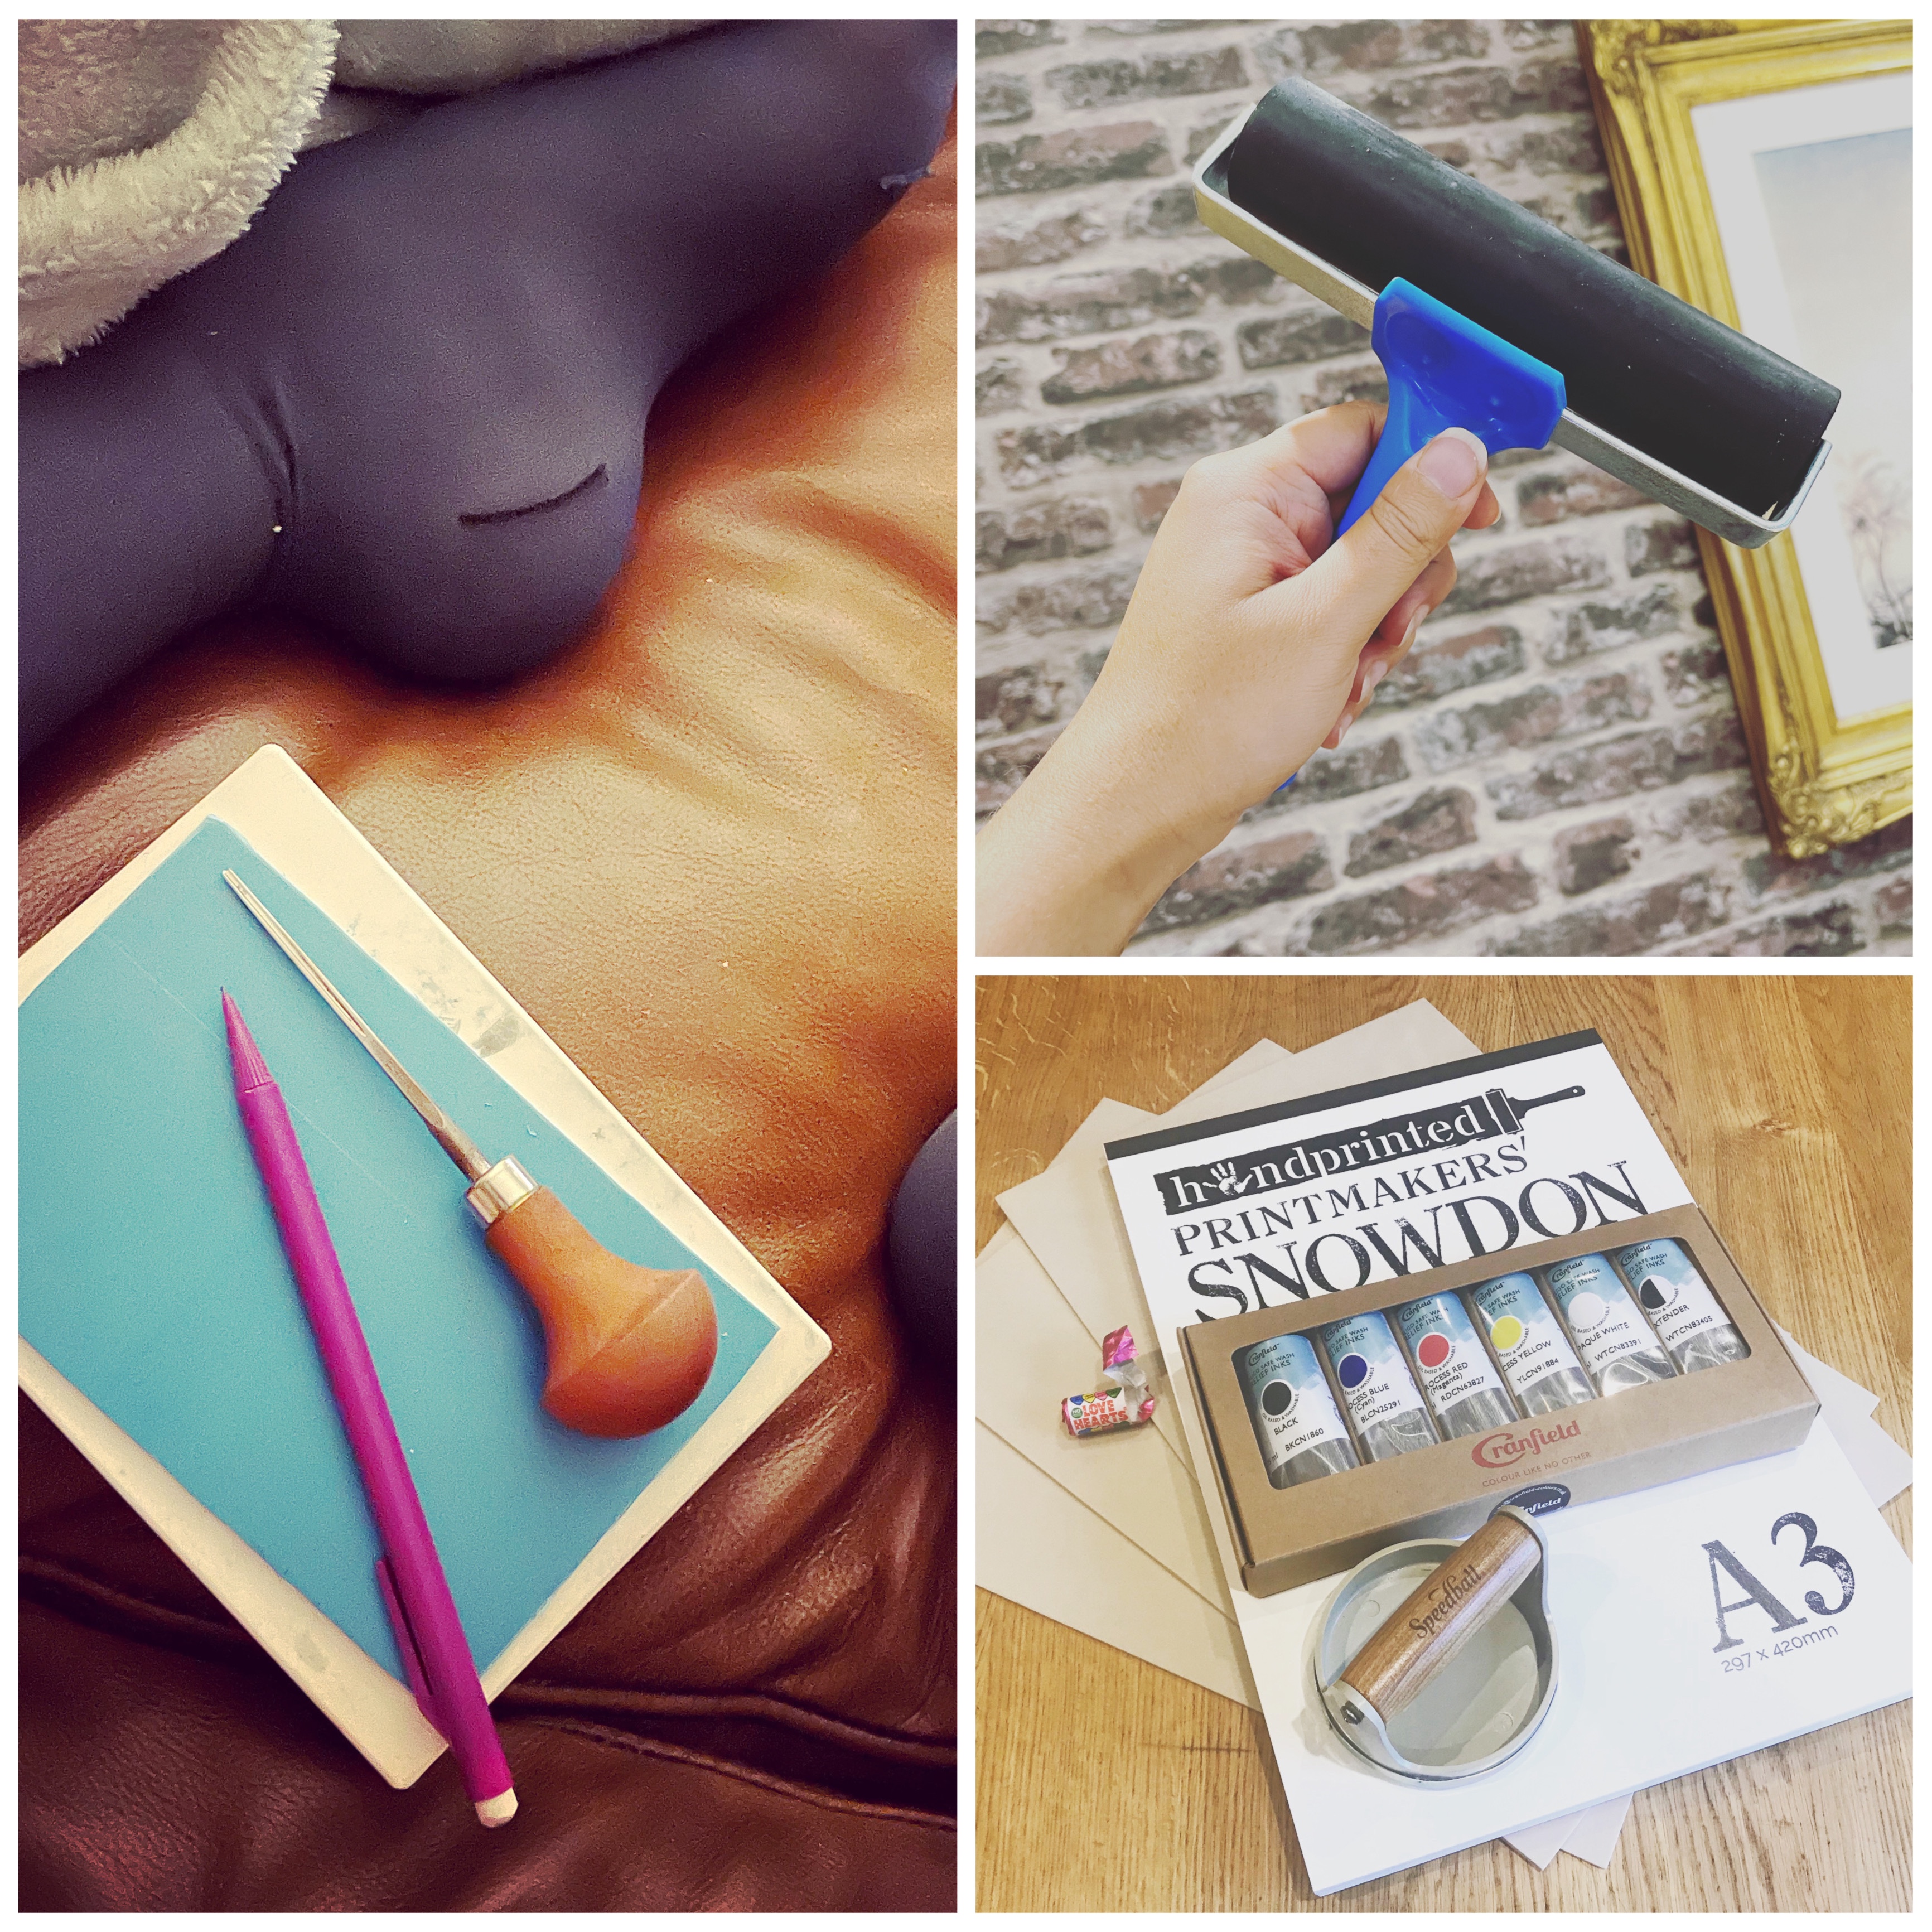
Starting out doesn’t need to be expensive. You’ll need some linoleum (there are different types and sizes but I’ll come back to that), a brayer (roller), block printing inks, paper, something to press with (a baren or a spoon) and lino cutting tools. You can get all these things from Hobbycraft, Amazon or possibly your local independent art supplier. I use Handprinted UK for most of my purchases.

For cutting tools, Pfeil are my tools of choice, but if you’re a beginner I highly recommend Abig cutting tools, they’re ergonomic, cheap and very capable.
There are loads of linoleum choices out there. I love using softcut lino, as I have tiny little hands and struggle with traditional hessian backed lino – aka ‘the battleship grey stuff’! You can get far more fine details with battleship lino but I honestly can’t use it. It’s favoured by professionals the world over so don’t write it off until you have tried it. There is also transparent lino which is great for using lots of block to make one picture, but it’s hard to cut. I recommend buying a mixed pack and test them all!
Inks are a tricky thing. I started out with Essdee water based inks, which are cheap and easy to clean up. They dry quickly and give good colours but they don’t give great coverage. There are other water based inks that are superior, but I choose to use oil based inks. The cleaning up can be messy as you need to use vegetable oil, but the pigment and coverage is incredible. I use Caligo Safewash as it suits my needs.
Rollers/Brayers – don’t go by price. Honestly, I paid £25 for a Speedball brayer which deteriorated almost immediately. The Essdee soft brayer (pictured above) was £8 and I’m still using it a year later. What you do need to do is use an appropriate sized roller for your project. Ideally it’ll be the same size as your lino sheet; if it’s too small you could be left with lines in your ink where you have been going back and forth over it.
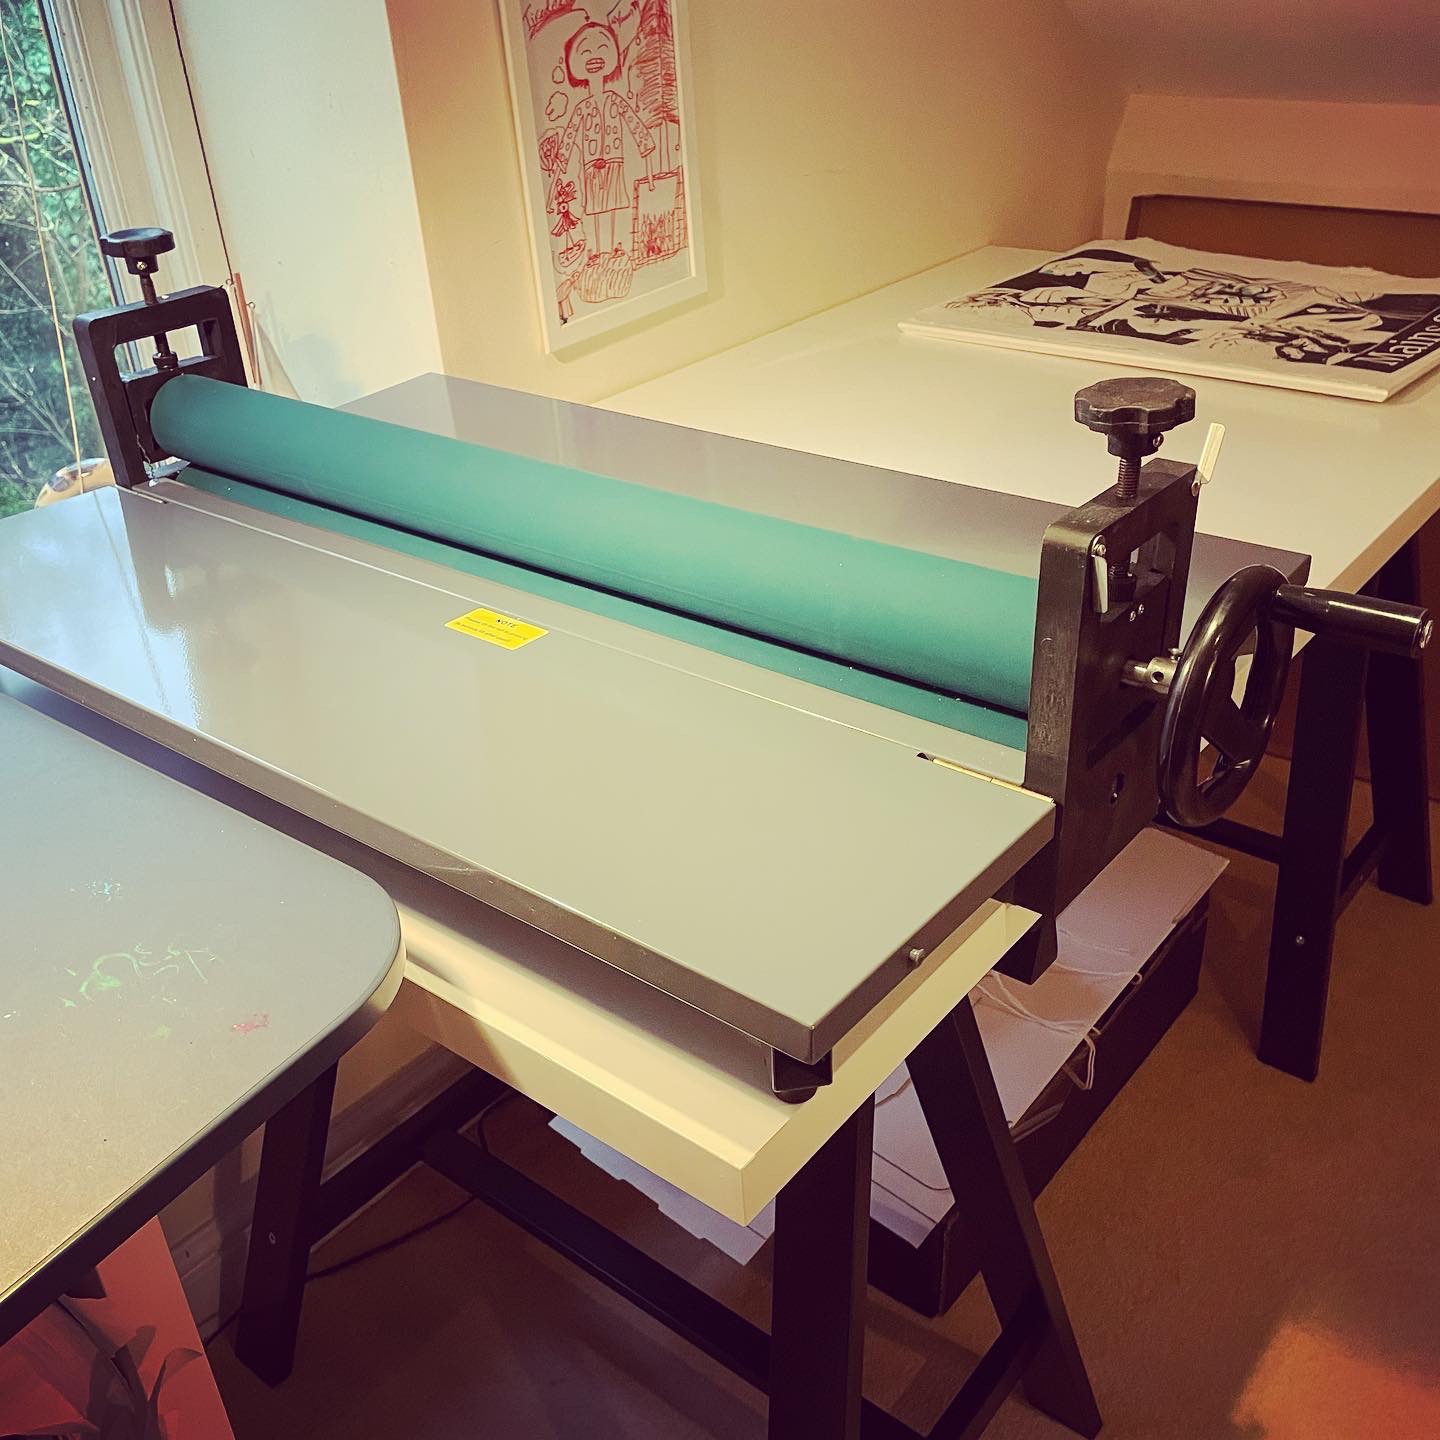
To press your design you can use a baron, a spoon, a paperweight or a mechanical press. For a long time I used a metal or wooden spoon which yielded excellent results. Also, a baron with ball bearings is highly affective. If you have the space and the budget, look for a press – but it’s absolutely not a necessity for professional quality outcomes. Personally, I use a cold press laminator (pictured below). These are produced for cold lamination of products like photos and posters, but make excellent relief printing presses AND they’re affordable. A CPL will only cost £90 for up to A2 size, when a comparable dedicated printing press would be nearer £3k. You can also look for a book press or a Woodzilla press.

My favourite subject of all is paper! I love paper. As with the rollers, the paper you use will depend on your project, your ink and how you press your design. If you are pressing by hand you need to use paper that is 130gsm or less in order to get a crisp outcome. If you’re using a mechanical press, you can afford to go for something thicker. Always go for acid free archival paper so that it doesn’t yellow, fade, and deteriorate with time. My choice is Zerkal and HoSho for low gsm and Snowdon for higher.
In closing, I think you could start your Linocut journey with a roller, lino, cutters, inks and paper for only £30. But it’s addictive, so be prepared to spend more!
Next time I’ll be giving a tutorial on getting started! KTx
0 Comments